Showing posts with label papercrafting. Show all posts

December 22, 2011

Day 10 - Vintage Notebook Cover

12 Days of Christmas Header

On the tenth day of Christmas, my crafty friend gave to me....
Vintage Notepad Cover!

This notepad cover is a great gift that's so pretty, you'll probably want to make one for yourself! It's refillable, so the recipient of this gift can use it over and over again. The basic design can be adapted with embellishments that you have on hand, and there's a video to show you step by step how to create it.

So, download the free instructions, watch the video, and check one more gift off the list (but make one for yourself too...you know you want to!).


tag: allstores

December 11, 2011

Goosebumps in December!

Goosebumps Texture Spray
I am not a fan of scary movies. They give me goosebumps, and not in a good way. But last week, I got a different kind of Goosebumps...from Tsukineko! And believe me, I loved them!

Goosebumps is a new texture spray that can be used on multiple surfaces; paper, canvas, glass, acetate, they all take on a new dimension with this fabulous new product! Goosebumps comes in three different formulas--matte, gloss and shimmer--for tons of crafting possibilities.

Goosebumps Texture Spray on Printed Cardstock
Sprayed on a sheet of plain or printed cardstock, Goosebumps instantly gives the paper texture, dimension, and a bit of shine.

Goosebumps Texture Spray with Mask
Used with a mask, you can create your own patterns on cardstock. Think about how fun it would be to create your own background paper. And masks don't have to be specialized...you could use different household objects like rubber bands, coins, nuts and bolts. Goosebumps will wash off if you remove the masks befor allowing it to dry.

Goosebumps Birthday Card
For this card, I used blue painter's tape right on the front of the card. I sprayed on gloss Goosebumps and allowed it to dry. After removing the tape, I inked over the entire card for a tone-on-tone jacquard stripe effect.

Goosebumps Book Page
Here, I sprayed Goosebumps directly on a rubber stamp, and stamped on a book page. When the Goosebumps dried, I dragged some distress ink over the page to define the edges.

Here's my result on a mirror using matte Goosebumps and a stencil. Instant frosted glass! (It's hard to take a picture of a mirror...please excuse the quality and trust me that this looks so much prettier in person!)

Delicata Ink
Combine Goosebumps with Tsukineko's new Delicata metallic ink and the results are stunning! Delicata is a metallic that won't tarnish or lose it's luster like some other inks, making it a great option for keepsake projects. It's also a great alternative to gold leafing for more delicate surfaces.

Delicata Crown Card
These products will be arriving in your local Beverly's around December 18, 2011.  So, ask Santa to tuck some Goosebumps and Delicata in your stocking this Chrismas. You'll be glad you did!


tag: allstores

November 3, 2011

Operation Christmas Card at Beverly's!

Operation Christmas Card LogoIn conjuction with EK Success Brands, Beverly's Fabrics & Crafts stores are participating in Operation Christmas Cards, a campaign sending holiday cards to US and Canadian military men and women who are serving overseas. The goal for 
Operation Christmas Cards this year is to send 175,000 cards to bases around the world. For some, these cards will be the only holiday correspondence they receive.

Christmas Cards for TroopsEK Success Brands has set a goal to collect 9,000 cards before November 11th. Your local Beverly's Fabrics & Crafts stores will be acting as drop off locations for this effort. Additionally, you can stop by your local Beverly's Fabric & Crafts store on Saturday, November 5th, 2011, 1pm to closing to make a free card to send to the troops!


If you are making your own cards at home, here are a few simple guidelines:
• Please DO NOT seal the envelopes, or apply postage
• Feel free to write supportive and encouraging notes
• You may include your email or mailing address inside the card
• Please do not use products that contain exposed glitter
• Non-crafted, store-bought cards may be sent as well

Dog TagsIf you are not able to drop your cards off at one of our stores, you can still participate! Cards may be sent directly to Operation Christmas Cards.

Make a difference to someone this Christmas with a gift of your thoughtfulness and support. It’s what we crafters do best!

tag: allstores

August 25, 2011

Accordion Envelope Book

Envelope Accordion Album PhotoThis week, Beverly's stores hosted an evening of Social Crafting, featuring this cute accordion envelope book. The participants had so much fun creating this project that we decided to share it with you here!

Created with basic envelopes, the book is then embellished with scrapbook paper (we used Funhouse from GCD), ribbons, flowers and bling.
Imagine the embellishment possibilites! With Christmas paper, it becomes a place to store your lists, budget and receipts. Covered with a cute kitchen print, it will hold your shopping list and coupons for the grocery store!
Read on for step by step instructions, or download the project here.


Supplies Needed:

5 Envelopes (we used 5 ¼” x 7 ¼”, but other sizes work)
4 5”x7” Greeting Cards (paper measures 10”x7”)
3 Sheets Double Sided, Patterned Scrapbook Paper
(or 6 Sheets Single Sided Patterned Paper)
6 Sheets Solid Cardstock to Coordinate with Patterned Paper
Ribbon
Envelope Accordion Book PhotoRibbon-Slot Edge Punch
Decorative Edge Punch
Rat Tail Cord
Paper Clips
Small Silk Flowers
TinyType Alphabet Stickers
Rhinestones, Buttons for Embellishment
Distress Ink
Adhesive of Choice
Craft Knife, Scissors
 
To Make the Base Book:

Accordion Album Step 1 PhotoCreate accordion book from five envelopes. Using a glue stick, adhere the envelopes together by placing adhesive on the inside of the flap of one envelope attaching it to the front of the next envelope. Repeat for all five envelopes.


Accordion Album Step 1a Photo

Fold the pages accordion style, making the flap of the first envelope the cover of your book.


Accordion Album Step 2 Photo


Add a ribbon closure. Cut a small opening the width of the ribbon on both sides of the last envelope and run the ribbon through (page shown already decorated).


To Make the Cover:

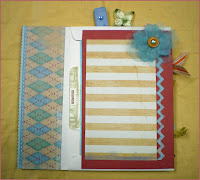
Cut two pieces of decorative scrapbook paper measuring 2”x7 ¼”. Adhere to front and back of first envelope flap, using the adhesive of your choice.
Accordion Album Step 3 Photo
Page 1:
Adhere 4 ½” x 7” piece of solid cardstock to envelope pouch, as pictured.
Top with edge punched 4”x6” piece of patterned paper.
Embellish with silk flower, button and rhinestone.
Pocket insert will be created later in this tutorial.

Page 2:

Accordion Album Step 5 Photo
Adhere 4 ½” x 7” piece of decorative paper to envelope pouch, as pictured. 
Top with 4”x6” piece of solid cardstock. Use pieces of coordinating paper to embellish.
Use Tiny Type stickers to spell out “LOOK HERE” on inside of pouch edge.
Pocket insert will be created later in this tutorial.


Accordion Album Step 6 Photo


Page 3:
Edge punch 4 ½” x 7” piece of solid cardstock with ribbon slot punch.
Weave  ribbon through slots as pictured, skipping one slot on the top as you weave. Tape ends on back of paper. 
Adhere to envelope pouch, as pictured. 
Top with 4”x6” piece of patterned paper.
Pocket insert will be created later in this tutorial.

 
Page 4:

Accordion Album Step 8 Photo
Edge punch 4 ½” x 7” piece of solid cardstock with ribbon slot punch. 
Tie two 4” pieces of in a knot. Weave  the ends from the center through slots as pictured, skipping three slots each time you weave. Tape ends on back of paper. 
Adhere to envelope pouch, as pictured.
Top with two piece of patterned paper, measuring 2 ½” square and 2 ¾”x 3 ½”, respectively.
Embellish with decorative paper and rhinestones.
Pocket insert will be created later in this tutorial.

 Page 5:
Accordion Album Step 9 Photo
Adhere 4 ½” x 7” piece of decorative paper to envelope pouch, as pictured.  
Top with 4”x6” piece of solid cardstock. Use pieces of coordinating paper to embellish.

Use rhinestones and buttons to embellish as desired. 
Pocket insert will be created later in this tutorial.


Back Cover:

Accordion Album Step 10 Photo
Adhere a 5 ¼”x7 ¼” piece of decorative cardstock to front side of last envelope, as pictured (this is the opposite side of the book than you have been working on.


Decorative Paper Clips:
Accordion Album Paperclips
Use a strong adhesive to adhere scraps of paper or silk flowers to the tops of paper clips. Embellish as desired.


Accordion Album Step 11 Photo
File Folder Insert:
Make tab on one 7” side by cutting ½”x2” notches on both sides. Use corner rounder to round tab.
Distress tab with distress ink.
Adhere Tiny Type letters to spell “MEMORIES.”


Accordion Album Step 12b Photo
Make folder from back of card by folding back of card to inside in at 2 ½” inches. 
Cover card under tab with patterned cardstock, 4”x7”. Add strip of solid cardstock under tab.
Cut three pieces of patterned cardstock, 1 ½” x 7”, 2”x7”, 2 1/2” x 7” and adhere to flaps of folder as shown.


Accorion Album Step 13a Photo
Mini Book Insert:
Cut 4”x7” piece of double sided cardstock. Fold in half.
Cut greeting card into two pieces measuring 3 ½”x6”. Fold in half. Align in center of folded double sided cardstock. 
Punch two holes along fold lines through all layers. Run rat tail through and tie in a bow on the outside.
Embellish cover as desired. 


Accordion Album Step 14 Photo
Gatefold Insert:
Cut greeting card down to 5” height.
Open card. Fold front to center and back to center to create gate fold. 
Cut two 2 ½”x3” pieces of decorative paper. Adhere to front flaps.
Use Tiny Type stickers to spell out “SWEET SMILES” on front flaps.
Use paper scrap embellishment to make gatefold “latch.”


Accordion Album Step 14b Photo
Adhere 4 ½” square of decorative paper to inside of card. 


Accordion Album Step 15 Photo
Tag Inserts:
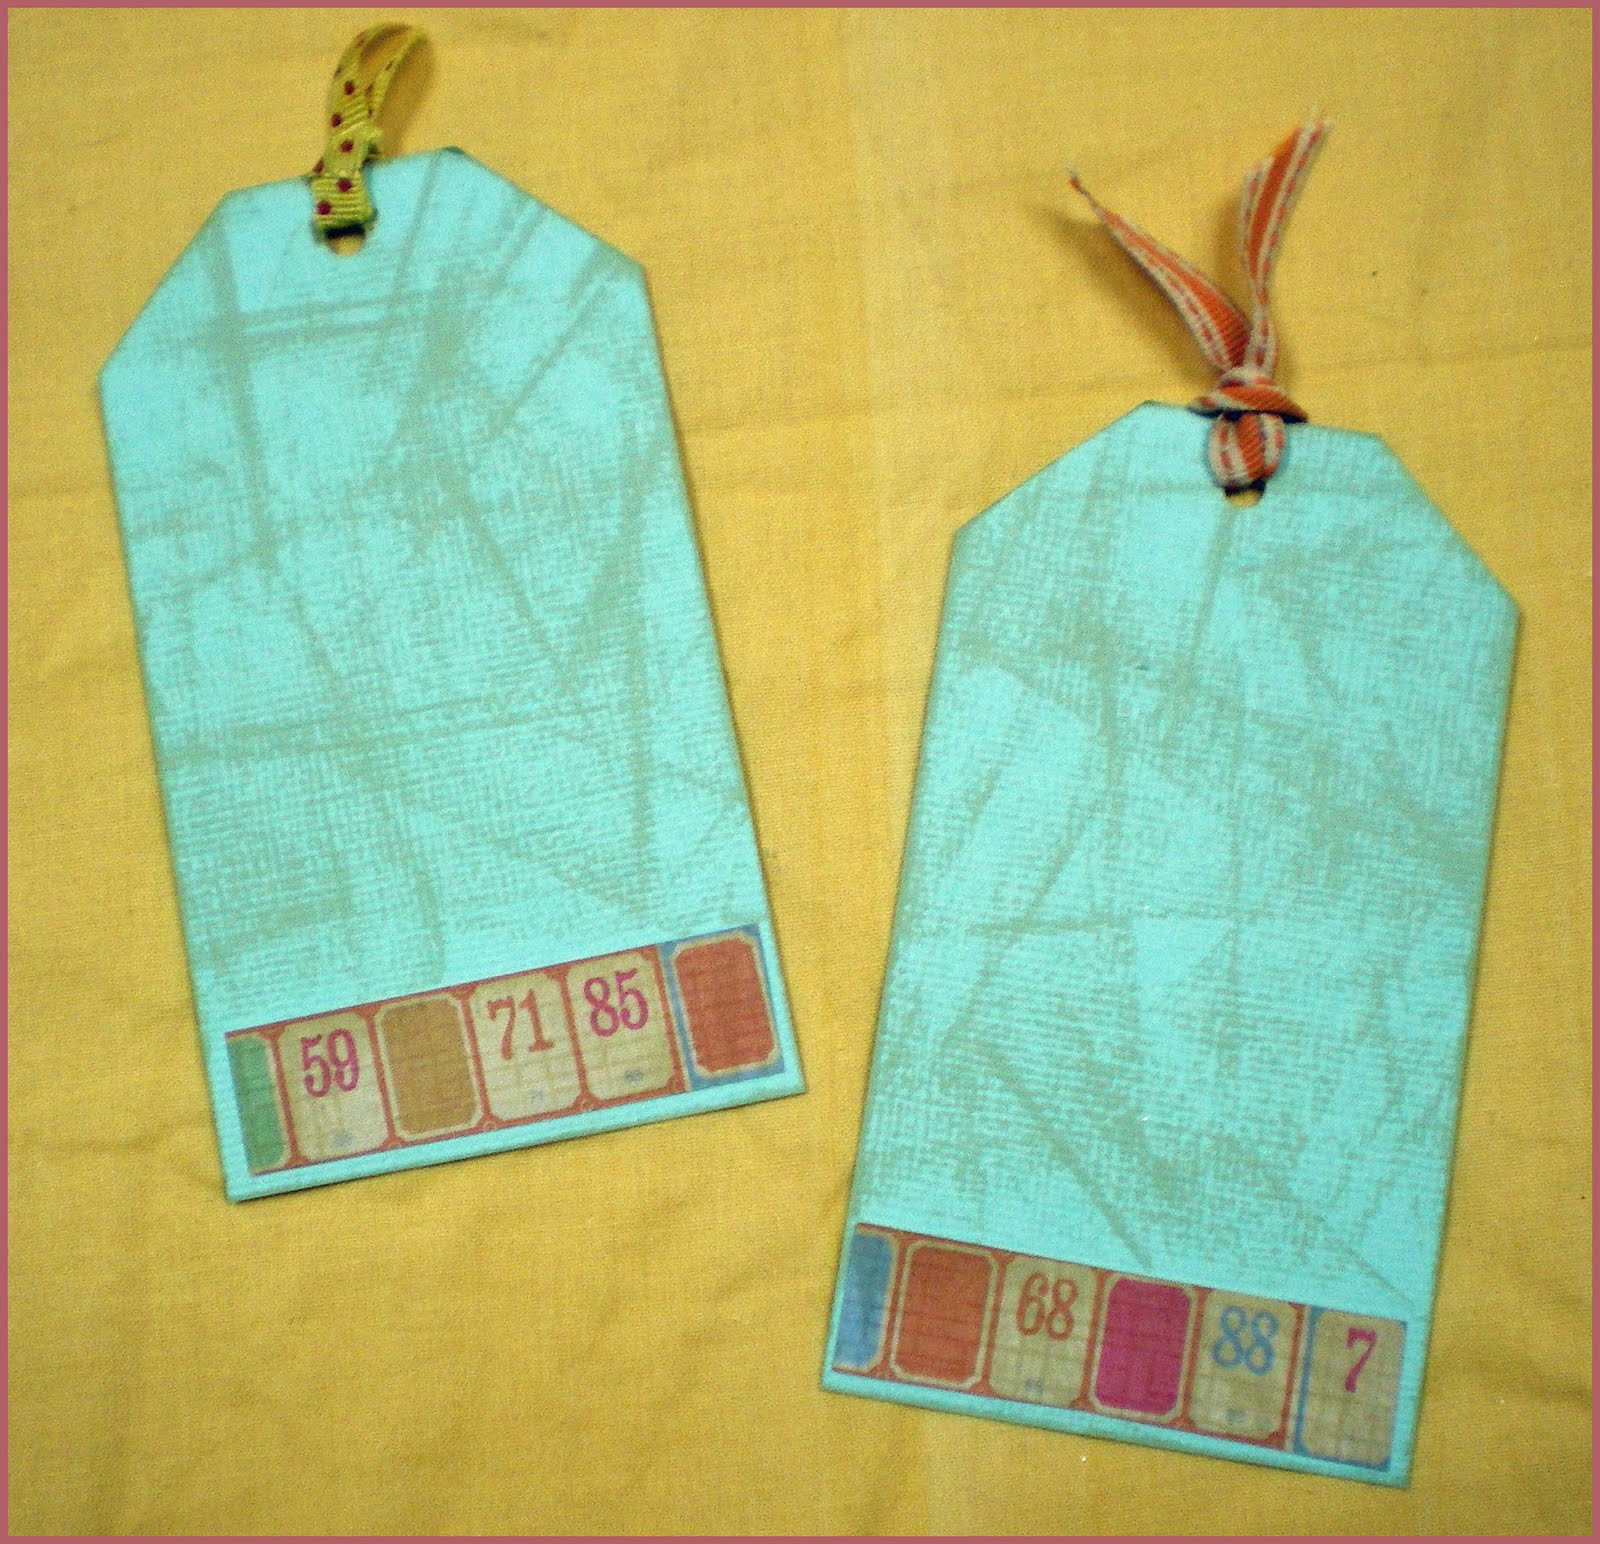
Cut two pieces of solid cardstock, 2 ½” x 4 ½”. Cut corners from one end to form tag shape. 
Distress with distressing ink.
Embellish with ½” strips of decorative paper. 
Punch hole at notched end and embellish with ribbon.


Accordion Album Step 16a Photo
Pocket Card Insert:
Cut the front of greeting card to 3”. Embellish with two 2 ½” squares of decorative paper, and a strip of decorativepaper in the middle.
Create pocket on inside of card. 
Cut decorative paper to 3”x5”. Apply adhesive to two short sides and bottom long side and adhere to inside of card to make pocket.
Cut a piece of decorative paper 3 ½” x 6”. Notch corners on one short side to make tag shape. Punch hole and embellish with ribbon.


Place all inserts in pouches and attach clips at top. Accordion fold shut and tie closed with ribbon. Enjoy!

March 28, 2011

New BoBunny Paper Collections

Check out these two new paper collections from BoBunny now available at your local Beverly's Fabric & Crafts store!

The Gabrielle Paper Collection is welcoming and warm - helping you capture those every day moments perfectly...
Bo Bunny Gabrielle Paper Collection

Travel through the pages of Time with Bo Bunny's Timepiece Collection...
Bo Bunny Timepiece Collection


tag: allstores

January 19, 2011

New Imaginisce Paper Collections Arrive!

A few of the new Imaginisce papers we now carry

Three exciting new paper collections from Imaginisce are now available at your local Beverly's! The Dinosaur, Princess & Birthday paper collections are so unique and fun and add a great touch to any art project, papercrafting project or scrapbooking album.
tag: allstores

January 7, 2011

Coupon: 3M Adhesive Transfer Glider

Beverly's Fabric and Crafts In-Store Coupon: Gingerbread House Kits for just $8.88 while supplies last. Good thru December 31, 2010.

Receive $5 off the regular price of the 3M Adhesive Transfer Tape Glider (in a stylish hot pink) when you print out our January in-store coupon. Easily apply a controlled layer of double-sided tape to any surface with a touch of the trigger. Mess free!

tag: allstores

January 14, 2010

Happy New Year!!

We've made a little Valentine Pocket for each of our stores to display. A perfect place to store your valentines.

Click here for instructions. Here is a little tip for you when you go to make the flourish design out of rhinestones. We used Fade-resistand Dye Ink by Memento (Lady Bug) to stamp a flourish design on the red paper. Now add the adhesive rhinestone in any color following the lines of the flourish. The red ink just about disappears - check the sample in the store : )

The crumpled flowers are all the rage now. You could even you text from an old book (and layer 6-10 hearts) or old valentine cards. Get creative and see what you come up with.

Kids will enjoy leaving notes for family members in this pocket or you could fill with silk flowers. Let us know how you plan to use yours. We'd love to see some pictures.

tag: allstores

December 18, 2009

Quick & Easy Christmas Ornament

Here's a quick idea for a 3-D gift tag or ornament, made with Graphic45:

Supplies:
Christmas Past (Graphic 45)
12" of yarn or ribbon
Adhesive

Directions:
1. Cut "Letter to Santa" (12x12 with stamps all over it) into strips - can get 8 strips out of one sheet.
2. Fold on the dotted line between each stamp.
3. Fold yarn in half and tie the two ends together in a knot.
4 Fold back and forth like an accordion, open and put adhesive on the back of each stamp section.
5. Bring the two ends to meet and push them to the center, slide yarn up the middle and fold stamps so they form 6 panels.
Voila!

December 10, 2009

Holiday Goodie Bags!


Here is a quick little idea for a holiday goodie bag. If you mass produced these you could have them by the front door and ready to give when friends stop by. This way you'll have a little something on hand for the unexpected visitor. Fill them with candy, homemade treats or add some shredded paper and place a small gift inside. So easy to make!

1. Seal any size envelope and trim off one of the short ends.
2. Measure and cover envelope with your favorite designer paper.
3. Punch several stars randomly;cover clothespin with paper and attach star and button with yarn, hemp or thread.
4. Put clear treat bag or baggie inside to hold gift or treats, fold down top and attach stamped tag with clothespin.

Perfect for your kid's holiday parties at school, or any time of the year - the possibilities are endless.

November 23, 2009

For Your Thanksgiving Table!

Here is a little something to put together quick for your Thanksgiving table using Nestabilities, Bazzill cardstock, raffia, wire hoops and beads!

Voilà! Your table is ready to go, now all you have to do is come up with an awesome menu!

tag: allstores

November 16, 2009

New How-To's

We decided to put up our latest How-To's a little ahead of schedule so you could get started on some new ideas and projects early. The paper projects use some great new paper from Basic Grey called Eskimo Kisses. In the weeks to come we'll show you some more ideas to do with Eskimo Kisses.

This month our stores have fleece on sale, so what better time to make this easy No Sew Fleece Blanket. Great gift idea!

What have you been making lately? Christmas decorations or gifts? Our blog community would love some more inspiration - post a link to your project!

tag: allstores

August 6, 2009

Big Shot, June Bug and a Video!


Ok, so we knew Kathy was playing around with the Sizzix Big Shot, and that she'd come up with something pretty cool. Of course, she delivered, just take a look at this adorable card she made using the June Bug collection from Basic Grey..... but then she outdid herself by doing a video! Kathy shows us just how she made this card, check it out here.

July 7, 2009

The Big Shot comes to Beverly's!

The Big Shot from Sizzix! Everyone wants it and we've got it - it's a Bev's Best Buy and we have it for only $69.99! This stylish black and pink Big Shot works with the entire Sizzix product library; and even works with other brands' dies and embossing tools.

Kathy's been playing with it, and we can't wait to see what creative projects she'll be sharing with us : )

For some great inspiration .... check out the Sizzix web site!

July 2, 2009

June Bug Coming to Beverly's

The June Bug Collection from Basic Grey - coming to your local Beverly's soon!
Just in time for your summertime photos, June Bug brings charm and whimsy
to you scrapbook layouts and papercraft projects.

June 16, 2009

Father's Day Card from Kathy!

With Father's Day coming this weekend I wanted to show you the card I am sending to my Dad. It is pretty self-explanatory. Several of the edges are torn and rubbed with Distress Ink. The inside is torn and inked also. The tag panel is attached, with twine, to the front panel before adhering it to the card.

Products Used:
Paper: K&Co. Blue Awning; Bazzill Admiral and Canvas Fawn
Ink: Versa Craft Chocolate; Tim Holtz Walnut Stain
Accesories: twine
"My Stash": stamp and inside paper

June 10, 2009

The Charms Are Here!

A couple of weeks ago we mentioned we were getting in some pewter charms from Imagine It - well, they're in your local Beverly's now.... check out this card Kathy made and the cute cupcake charm she added to it:

April 10, 2009

From the Mailer!

Well, yesterday was an interesting day..... just when we're getting this blog rolling again, we're unable to get to it for a new entry because of a major phone, internet outage we had here in Santa Cruz County. Anyhoo ..... we're calling this post "from the mailer", because, Kathy, out resident artist created a darling card using an item that's in this month's mailer - DieCuts With a View's SWEET Mat Stacks. In fact she used this paper line when she decorated the Countdown Calendar that's featured in the April mailer as well.
Hope that inspires you - have fun creating! We'd love to see what you come up with.

Also, basssinger asked in the last post: "The knitting & crocheting books look very interesting. Is there a way that I can order them?"
Well, Bassinger, there's a couple of ways to answers that question. Your local Beverly's should have it. If they don't have it in the store, they can order for you. Or if you want to order it yourself on-line, you can do so here.

We'll be having a terrific giveaway next week, so make sure to come back to participate.

November 10, 2008

Beverly's has The SLICE™


The Making Memories SLICE is now at Beverly's!
The slice is the first portable cordless design cutter, it measures less than 5 inches square and weighs less than 2 pounds.

Select from hundreds of high-style images and instantly convert them into die-cuts ranging between 1" and 4" tall.

Come into your local Beverly's and check 'em out.