Since 1968, Beverly's has continued to be an industry leader in crafts, fabrics, scrapbooking, home decor, art supplies and much more. With over 20 stores in operation in California, we are the second largest privately-owned crafts chain in the nation. Follow our blog to keep up with all the happenings and get inspired for your next crafting, knitting or art project.
October 5, 2011
"Falling" for Tim Holtz
Tim Holtz and Ranger have an exciting announcement just in time for fall creativity! Together, they have created a limited edition collection of Distress Ink Pads in harvest hues. Like the changing of the seasons, this autumn set of distress ink pads is only here for a limited time, and it is available at Beverly’s Fabrics & Crafts now!
Made from their unique Distress Ink dye formula, these fade-resistant, non-toxic and acid free distress ink pads will add a timeless nostalgic flair to your Halloween and Thanksgiving craft projects.
The Autumn Set is available in 3 rich harvest colors, Seedless Preserves, Gathered Twigs, and Ripe Persimmon.
For a closer look at these gorgeous autumn hues, watch this Tim Holtz video.
We think these Tim Holtz inks are amazing, so we're running a contest for a free set. Leave a comment on this blog telling us what your favorite regular line Distress Ink colors are and how you plan to use them during the Fall. We'll choose and announce a random winner on October 12, 2011. Good luck!
tag: allstores
October 1, 2011
Breast Cancer Awareness & A Coupon
October is National Breast Cancer Awareness Month, a time for women everywhere to increase their awareness of the disease, while learning prevention strategies and methods of early detection.The Susan G. Komen Foundation is a year-round resource for education and information for survivors, patients and the general public.
The pink ribbon has been the official symbol of breast cancer awareness since 1992. It was first used by the Susan G. Komen Foundation in 1991 at their annual race in New York City.
In support of National Breast Cancer Awareness Month, Beverly's is offering 25% off one cut of any regular priced fabric with pink in it (there is a limit of five yards, but just think of what you could do with all that fabric!). Just print the coupon below and bring it to your local Beverly's Fabrics & Crafts to receive your discount. But before you visit, make an appointment for your annual mammogram. And guys, why not remind the women in your life make their appointments? You'll be glad you did!
September 23, 2011
Authentique Paper Pads Exclusive to Beverly's!
Don't you love it when you find a fresh new product that makes you swoon? That's how we're feeling about the new line of paper pads from Authentique! Not only are these 12x12 double-sided paper pads beautiful, but they are printed here in the USA, and the quality is exceptional. And on the West Coast, Beverly's is the only place you can find the paper pads!
There are currently six different styles available, four in different colorways, and two themed for Halloween and Christmas. It's hard to decide which is prettiest! The patterns are contemporary, with a slightly distressed look, and all the papers they coordinate beautifully. Just look at the variety you'll get in each pad!
And there's more to come from this great new company! They've announced a line of 6x6 papers called Freebird, and select Beverly's stores will be carrying paper pads and individual sheets! This is a breakthrough in the world of papercrafting that cardmakers and scrapbookers alike are looking forward to.
Authentique has put together a talented design team, and their projects are featured in a Gallery on their website. Additionally, the Authentique blog is updated often with lots of inspiration and information. We can't wait to see what they come up with next!
tag: allstores
There are currently six different styles available, four in different colorways, and two themed for Halloween and Christmas. It's hard to decide which is prettiest! The patterns are contemporary, with a slightly distressed look, and all the papers they coordinate beautifully. Just look at the variety you'll get in each pad!
|
|
|
|
|
|
Authentique has put together a talented design team, and their projects are featured in a Gallery on their website. Additionally, the Authentique blog is updated often with lots of inspiration and information. We can't wait to see what they come up with next!
tag: allstores
September 21, 2011
Vintage Lace Scarf
Our in-store Social Crafting event this evening was a big success, and everyone had fun creating this vintage lace scarf! It will be a perfect accessory this fall. The lace adds a touch of nostalgia, while the twisted fabric and ribbon flowers give the scarf some whimsy. Since the project was such a hit with those who attended, we wanted to share it with you as well.
Read on for step by step instructions or download the Vintage Lace Scarf project from our website.
Materials:
Brew tea in small plastic cup. Allow to cool.
Fold fabric into double layer. Use teabag to tea dye by dabbing bag directly onto fabric (be sure you are working on a protected surface). Dip teabag back in tea to re-saturate as needed. If teabag is not useable, a sponge brush can be substituted. Flip fabric and dye the opposite side.
Use scissors to cut fringe about 5" deep on each end of one piece of lace.
Cut second piece of lace into 6”x9” pieces. Layer and cut fringe on all pieces about 5” deep. Adhere 3 layers of fringed lace over each fringed end of scarf. Fold long sides to center back and glue for a narrow end. Repeat for other end of scarf. Your ends will be approximately 4- ½” wide.
Cut a piece of ribbon about 10” long. Adhere over raw edges at top of lace, wrapping around back and folding top raw edge under. Repeat for other end of scarf.
Create twisted fabric and ribbon flowers and adhere as desired on one end of scarf. For the ribbon flowers, you may use the directions below, or watch a video tutorial on making twisted fabric flowers.
1-1/2” cotton fabric strip (torn), or piece of ribbon
2” felt circle
Rhinestone or button(optional)
Hot glue
To make:
Glue fabric strip or ribbon to outer edge of circle.
Pleat and glue around, working your way to the center.
Glue rhinestone or button to center front.
tag: allstores
Read on for step by step instructions or download the Vintage Lace Scarf project from our website.
Materials:
- White Lace, 2 pieces - 9” x 80” and 9” x 36”
- Strong brewed tea in small plastic cup (Save the teabag…you will need it!)
- Sponge brush (optional)
- 7/8” Grosgrain Ribbon, 3 coordinating prints
- Fabric Strips, 2”x20”, 2 coordinating prints
- Rhinestones
- Fabri-Tac Glue
- Scissors
Brew tea in small plastic cup. Allow to cool.
Fold fabric into double layer. Use teabag to tea dye by dabbing bag directly onto fabric (be sure you are working on a protected surface). Dip teabag back in tea to re-saturate as needed. If teabag is not useable, a sponge brush can be substituted. Flip fabric and dye the opposite side.
Use scissors to cut fringe about 5" deep on each end of one piece of lace.
Cut second piece of lace into 6”x9” pieces. Layer and cut fringe on all pieces about 5” deep. Adhere 3 layers of fringed lace over each fringed end of scarf. Fold long sides to center back and glue for a narrow end. Repeat for other end of scarf. Your ends will be approximately 4- ½” wide.
Cut a piece of ribbon about 10” long. Adhere over raw edges at top of lace, wrapping around back and folding top raw edge under. Repeat for other end of scarf.
Create twisted fabric and ribbon flowers and adhere as desired on one end of scarf. For the ribbon flowers, you may use the directions below, or watch a video tutorial on making twisted fabric flowers.
- Materials:
To make:
Glue fabric strip or ribbon to outer edge of circle.
Pleat and glue around, working your way to the center.
Glue rhinestone or button to center front.
- Your scarf is complete. Go forth and be stylish!
tag: allstores
September 16, 2011
Polymer Steampunk Bird
One of the rages sweeping the crafting world right now is Steampunk. What is steampunk, you ask? Think of it as Victorian science fiction, futuristic workings in the past, goggles, gears, clockworks!
Renowned polymer artist Christi Friesen has truly embraced the steampunk style, and has even published a book about it, Steampunkery! Christi combines polymer clay, beads, gears and small found objects to create animals, hearts and other interesting treasures.
Now, I hadn’t ever dabbled in the world of polymer clay before today. I scrapbook, knit, quilt and sew, but clay has always been a mystery to me. That is, until I watched Christi’s new video tutorial on making a polymer steampunk bird.
Her friendly style and amusing explanations had me smiling from the start. She made rolling a ball of clay look so easy and fun (and her cake analogy made me hungry)! I had to try it! So, with a block of Sculpey, some beads, and bits and pieces of old watches, here’s what I came up with.
Not bad for a rookie, huh? I have to say, following Christi’s step by step instructions made this little project both easy and fun. And a pasta machine to help soften the clay didn’t hurt either.

Next up, I’m going to brave another creation from her book...maybe this elephant? I think I’m hooked on the steampunk craze too!
tag: allstores
Renowned polymer artist Christi Friesen has truly embraced the steampunk style, and has even published a book about it, Steampunkery! Christi combines polymer clay, beads, gears and small found objects to create animals, hearts and other interesting treasures.Now, I hadn’t ever dabbled in the world of polymer clay before today. I scrapbook, knit, quilt and sew, but clay has always been a mystery to me. That is, until I watched Christi’s new video tutorial on making a polymer steampunk bird.
Her friendly style and amusing explanations had me smiling from the start. She made rolling a ball of clay look so easy and fun (and her cake analogy made me hungry)! I had to try it! So, with a block of Sculpey, some beads, and bits and pieces of old watches, here’s what I came up with.
Not bad for a rookie, huh? I have to say, following Christi’s step by step instructions made this little project both easy and fun. And a pasta machine to help soften the clay didn’t hurt either.

Next up, I’m going to brave another creation from her book...maybe this elephant? I think I’m hooked on the steampunk craze too!
tag: allstores
September 9, 2011
Stonehenge Revisited

Have you ever wanted to capture the magic of Stonehenge in a quilt? Well, now you can, thanks to the new line of Stonehenge fabric by Sunshine Cottage from Northcott, available here!
This collection of 100% cotton fabric, designed by Linda Ludovico, has the look of stone but the feel of silk. It to comes in a wonderful array of colors, with pallettes including Warm Stone, Cool Stone, Mother Earth and Mohave.

Donatella Simmonds, quilting expert in our Monterey store, created the beautiful table runner you see here using the Stonehenge Warm Stone pallette. The results are amazing, wouldn't you agree? I asked her how she liked working with the fabric.
Beverly's is proud to carry this amazing line of fabrics online and in the following stores: Bakersfield, Carmichael Yards of Fabric, Citrus Heights, Rocklin, San Diego, San Jose, Santa Rosa, Soquel and Stockton. A variety of colors is available as yardage, with strip packs becoming available later in the fall.
What magic will you create with Stonehenge?
tag: allstores
September 1, 2011
Simply Smashing!
There's a new way to journal in the 21st century and it's called Smash!
Developed by K&Company, this hip new line of journals and accessories is selling out of our stores faster that we can stock the shelves.
The books themselves, or folios as Smash calls them, come in seven different themes. One for every personality...or every day of the week! Each one has 40 pages, with a different background image on every page. A blank white page can sometimes be intimidating...this little book fixes that! Right now you can choose from International Yellow, Simple Orange, Eco Green, Mod Black, Doodle Red, Pretty Pink or Retro Blue. I'm hoping they come out with one that could be used for a Christmas journal (hint, hint!). And so many great accessories! Pockets, tabs, flags, clips, tape, journaling pads...the makers of Smash have thought of everything! Combine these with the snippets of your daily life, like receipts, lists, photos or love notes, and your Smash book can truly become a reflection of you.
One of the coolest features of this book is the Smash Stick. It has a pen on one end, a glue stick on the other, and it fits right in the loop attached to the book. This awesome tool makes it easy to stick your stuff in on the go and eliminates bringing along bulky accessories.There's no right or wrong way to use Smash. Use it to record important things. Or use it to record the little things that happen every day. Here's what the makers of Smash have to say:
So, what are you waiting for? Grab a folio and start Smashing!
**Thanks to K&Company for use of the Smash video and quote.
August 25, 2011
Accordion Envelope Book
This week, Beverly's stores hosted an evening of Social Crafting, featuring this cute accordion envelope book. The participants had so much fun creating this project that we decided to share it with you here!Created with basic envelopes, the book is then embellished with scrapbook paper (we used Funhouse from GCD), ribbons, flowers and bling.
Imagine the embellishment possibilites! With Christmas paper, it becomes a place to store your lists, budget and receipts. Covered with a cute kitchen print, it will hold your shopping list and coupons for the grocery store!
Read on for step by step instructions, or download the project here.
Supplies Needed:
5 Envelopes (we used 5 ¼” x 7 ¼”, but other sizes work)
4 5”x7” Greeting Cards (paper measures 10”x7”)
3 Sheets Double Sided, Patterned Scrapbook Paper
(or 6 Sheets Single Sided Patterned Paper)
6 Sheets Solid Cardstock to Coordinate with Patterned PaperDecorative Edge Punch
Rat Tail Cord
Paper Clips
Small Silk Flowers
TinyType Alphabet Stickers
Rhinestones, Buttons for Embellishment
Distress Ink
Adhesive of Choice
Craft Knife, Scissors
To Make the Base Book:
Add a ribbon closure. Cut a small opening the width of the ribbon on both sides of the last envelope and run the ribbon through (page shown already decorated).
To Make the Cover:

Top with 4”x6” piece of solid cardstock. Use pieces of coordinating paper to embellish.
Back Cover:
Decorative Paper Clips:
Place all inserts in pouches and attach clips at top. Accordion fold shut and tie closed with ribbon. Enjoy!
Cut two pieces of decorative scrapbook paper measuring 2”x7 ¼”. Adhere to front and back of first envelope flap, using the adhesive of your choice.
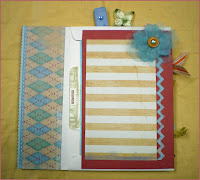
Page 1:
Adhere 4 ½” x 7” piece of solid cardstock to envelope pouch, as pictured.
Top with edge punched 4”x6” piece of patterned paper.
Embellish with silk flower, button and rhinestone.
Pocket insert will be created later in this tutorial.
Top with 4”x6” piece of solid cardstock. Use pieces of coordinating paper to embellish.
Use Tiny Type stickers to spell out “LOOK HERE” on inside of pouch edge.
Pocket insert will be created later in this tutorial.
Edge punch 4 ½” x 7” piece of solid cardstock with ribbon slot punch.
Weave ribbon through slots as pictured, skipping one slot on the top as you weave. Tape ends on back of paper.
Adhere to envelope pouch, as pictured.
Top with 4”x6” piece of patterned paper.
Pocket insert will be created later in this tutorial.
Page 4:
Edge punch 4 ½” x 7” piece of solid cardstock with ribbon slot punch.
Tie two 4” pieces of in a knot. Weave the ends from the center through slots as pictured, skipping three slots each time you weave. Tape ends on back of paper.
Adhere to envelope pouch, as pictured.
Top with two piece of patterned paper, measuring 2 ½” square and 2 ¾”x 3 ½”, respectively.Embellish with decorative paper and rhinestones.
Pocket insert will be created later in this tutorial.
Page 5:
Top with 4”x6” piece of solid cardstock. Use pieces of coordinating paper to embellish.
Use rhinestones and buttons to embellish as desired.
Pocket insert will be created later in this tutorial.
Back Cover:
Adhere a 5 ¼”x7 ¼” piece of decorative cardstock to front side of last envelope, as pictured (this is the opposite side of the book than you have been working on.
Decorative Paper Clips:
Use a strong adhesive to adhere scraps of paper or silk flowers to the tops of paper clips. Embellish as desired.
Make tab on one 7” side by cutting ½”x2” notches on both sides. Use corner rounder to round tab.
Distress tab with distress ink.
Adhere Tiny Type letters to spell “MEMORIES.”
Cover card under tab with patterned cardstock, 4”x7”. Add strip of solid cardstock under tab.
Cut three pieces of patterned cardstock, 1 ½” x 7”, 2”x7”, 2 1/2” x 7” and adhere to flaps of folder as shown.
Cut 4”x7” piece of double sided cardstock. Fold in half.
Cut greeting card into two pieces measuring 3 ½”x6”. Fold in half. Align in center of folded double sided cardstock.
Punch two holes along fold lines through all layers. Run rat tail through and tie in a bow on the outside.
Embellish cover as desired.
Cut greeting card down to 5” height.
Open card. Fold front to center and back to center to create gate fold.
Cut two 2 ½”x3” pieces of decorative paper. Adhere to front flaps.
Use Tiny Type stickers to spell out “SWEET SMILES” on front flaps.
Use paper scrap embellishment to make gatefold “latch.”
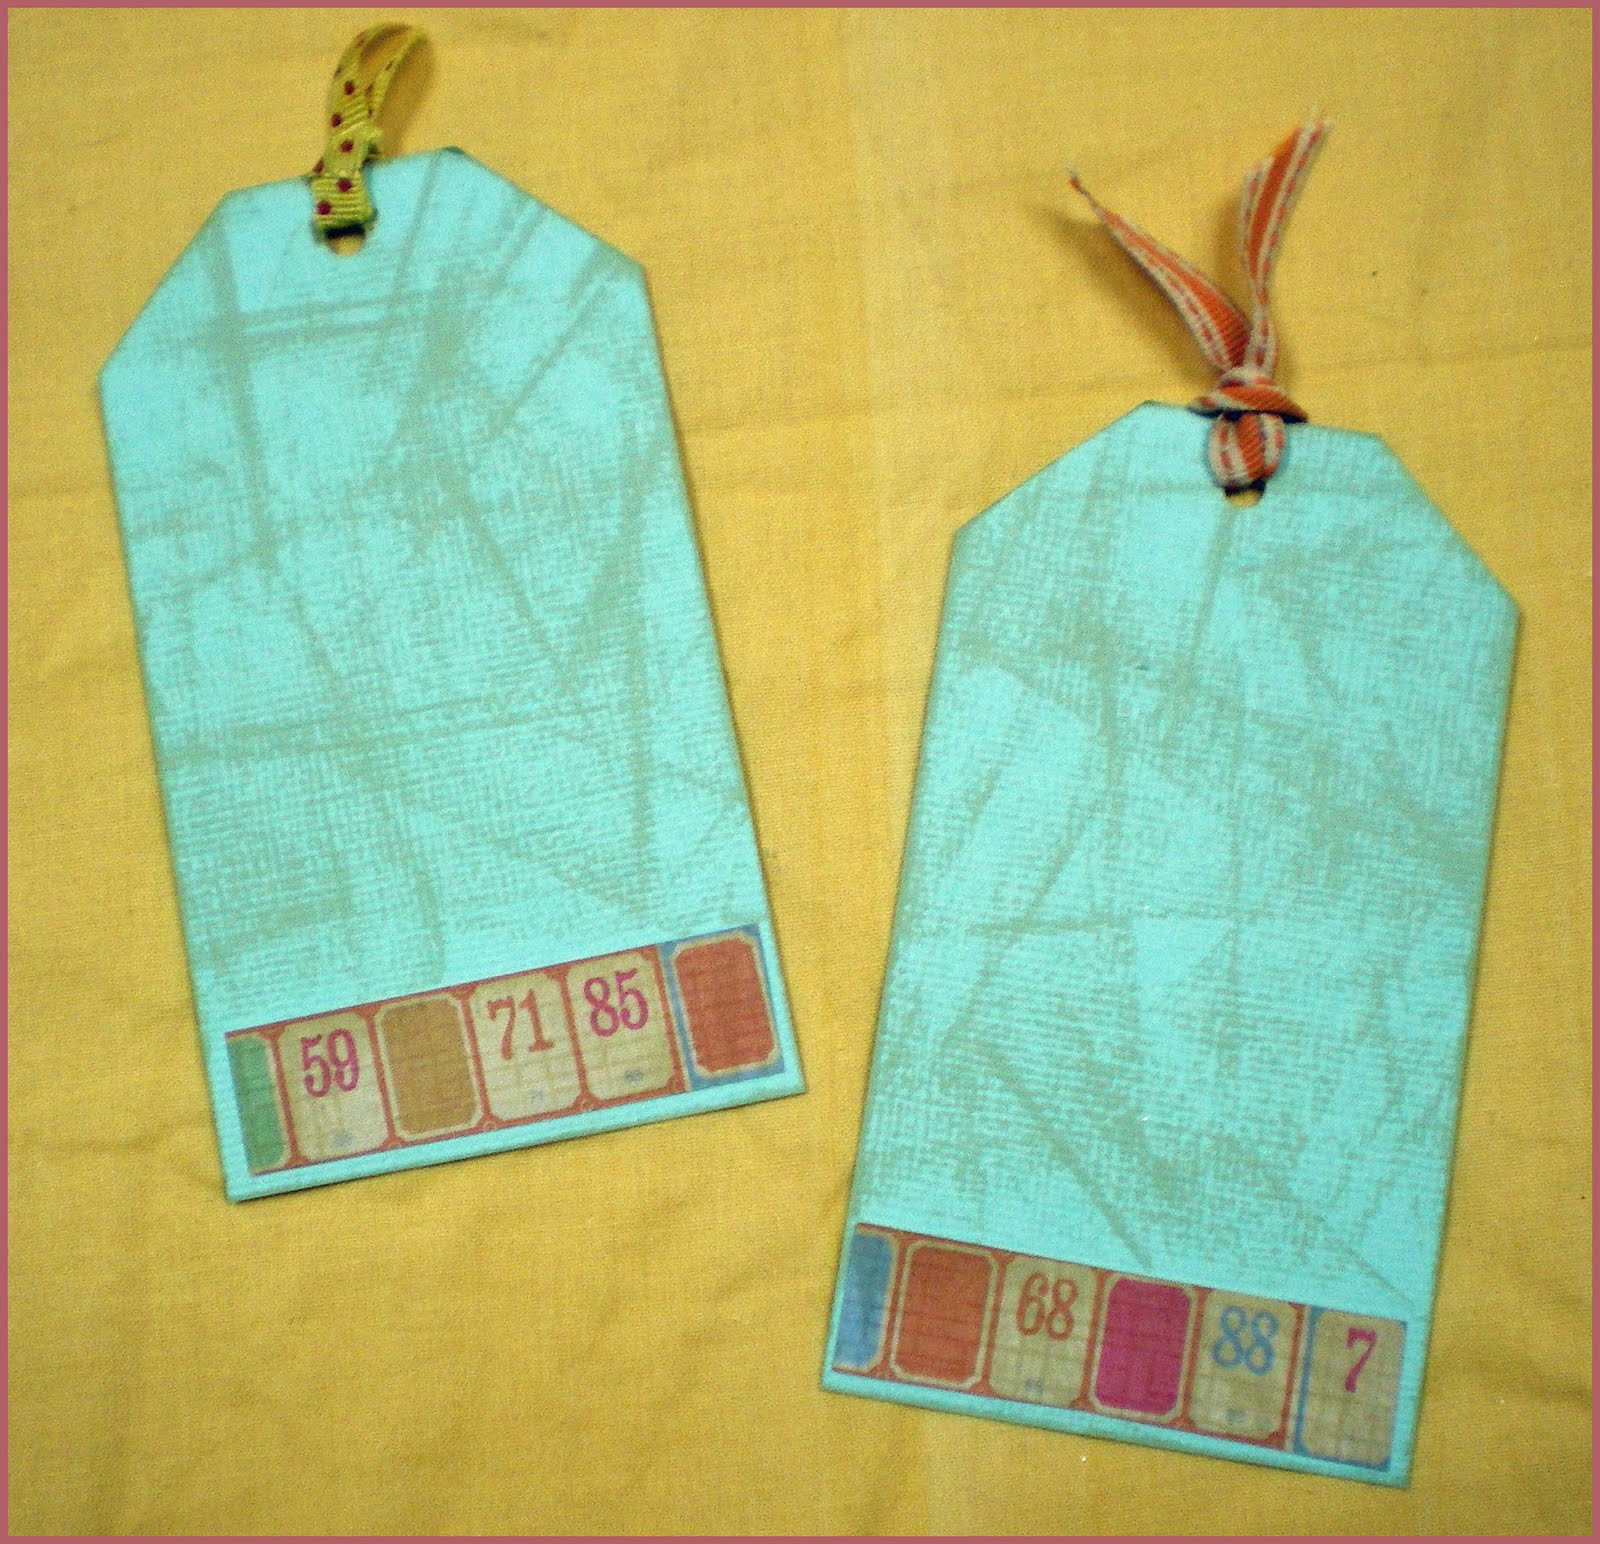
Cut two pieces of solid cardstock, 2 ½” x 4 ½”. Cut corners from one end to form tag shape.
Distress with distressing ink.
Embellish with ½” strips of decorative paper.
Punch hole at notched end and embellish with ribbon.
Cut the front of greeting card to 3”. Embellish with two 2 ½” squares of decorative paper, and a strip of decorativepaper in the middle.
Create pocket on inside of card.
Cut decorative paper to 3”x5”. Apply adhesive to two short sides and bottom long side and adhere to inside of card to make pocket.
Cut a piece of decorative paper 3 ½” x 6”. Notch corners on one short side to make tag shape. Punch hole and embellish with ribbon.
Place all inserts in pouches and attach clips at top. Accordion fold shut and tie closed with ribbon. Enjoy!
Subscribe to:
Posts (Atom)